Vintage Halloween decor ideas 2026: quick, stylish party styling for home and business
Want a cozy, vintage‑inspired Halloween that looks great on camera and in real life — without days of DIY or a big budget? This guide shows how to transform a room, storefront or event corner in under 30 minutes using printable posters, editable invites, seamless patterns and ready‑to‑use clipart. Plus, a practical prep checklist and layout tips so everything looks cohesive from the first glance.
Why Vintage Halloween works now
Retro Halloween is trending for a reason: hand‑drawn textures, warm muted palettes and charmingly spooky characters create instant mood and high perceived quality with minimal effort. A few focal visuals (posters), repeatable textures (patterns) and consistent graphic accents (clipart + lettering) give a complete “old‑holiday‑card” vibe fast — perfect for homes, small businesses and seasonal events.

Halloween party – hand drawn cute vector illustrations, posters, patterns
My approach to Halloween illustration
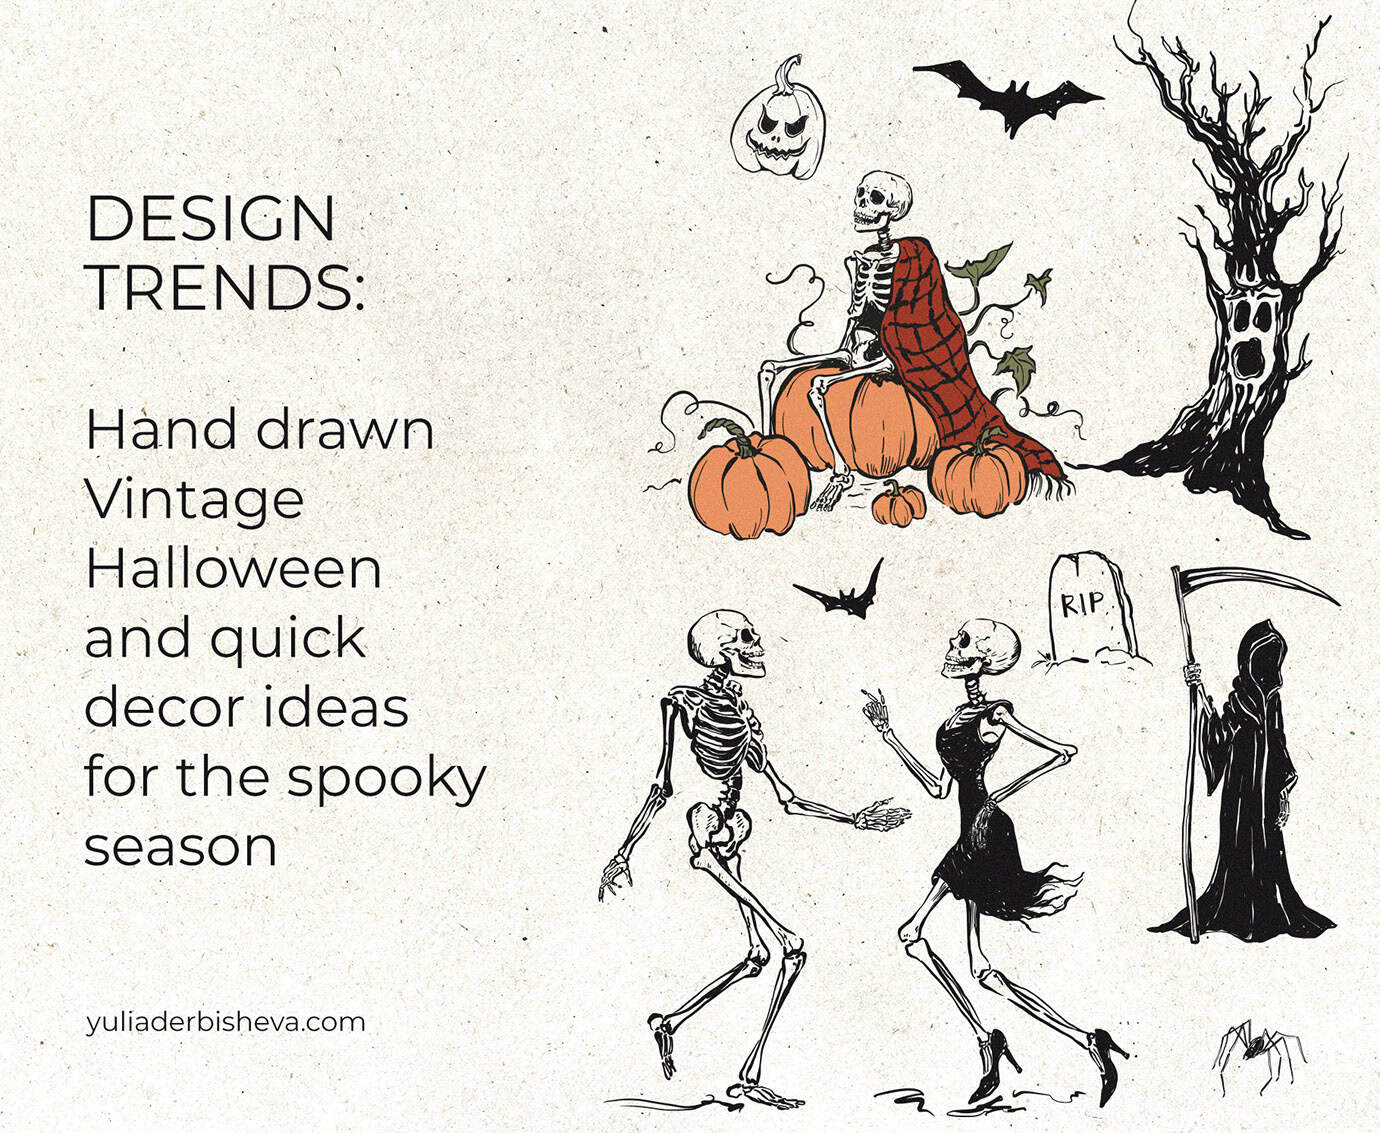
Halloween is a holiday, and it should feel like one — not like something genuinely frightening. My approach to Halloween illustration is always the same: cute and fun first, with just a touch of the gothic and a nod to the eerie. Charming, not scary.
For this aesthetic, everything needs to be drawn by hand, with a live, expressive line — slightly rough in places, with small imperfections, a hint of a bleed here and there. Vintage illustration fits this perfectly: the slightly faded palette, the hand-lettered details, the deliberate imperfection all add up to something that feels both timeless and cozy. That’s the Halloween I want to create.
And I always try to embed a small story into each illustration. A witch absorbed in her potion, a skeleton who seems more bewildered than threatening, a ghost who got a little lost on the way somewhere. Each character has a moment, a mood, a life of their own — because I think that’s what makes an illustration genuinely memorable, rather than just decorative.
My Halloween Party collection is out early this season — so you have plenty of time to use it properly, without the last-minute rush.
Quick wins in 30 minutes
Posters first: Hang 2–3 printable posters at eye level to define the theme. Use matching frames (A3/A2) or washi‑tape for a casual look. Place one in the entry, one over a console, one near the food table.
Add textures: Use seamless patterns for snack labels, treat bags, bottle wraps, ribbons or a small photo backdrop. Repetition = “designed” feel.
Cohesive invites: Keep your invitations and table cards in the same graphic language — one lettering style, 1–2 recurring characters, consistent colors.
Light and balance: Dim overhead lights, add 1–2 warm lamps and a string of amber fairy lights near the posters. Texture reads better in warm light.
CTA: Explore the Halloween Party collection for ready‑to‑print posters, seamless patterns, hand‑drawn clipart and lettering in AI, EPS, SVG, PNG, JPG.
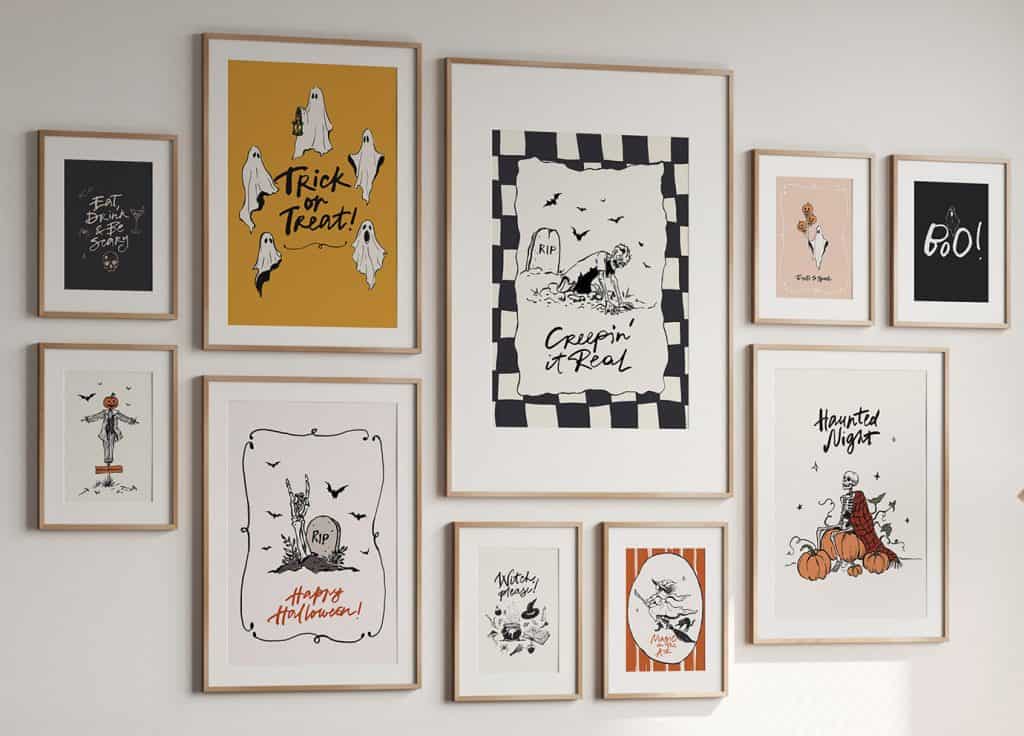
Halloween party printable posters
Hand‑drawn visuals that do the heavy lifting
The Halloween Party vector collection was crafted for a “cute but slightly spooky” retro mood — fast to apply, easy to edit, and versatile across print and digital. Expect dancing skeletons, friendly ghosts, a moody castle, bats, spider webs, potion‑loving witches, face‑in‑trees, zombies, playful animals and more. Each illustration tells a tiny story — so even a single element can pull a corner of the room together.
What’s inside at a glance:
- 12 ready‑to‑print posters (5100×7200 px) — fully editable backgrounds and text
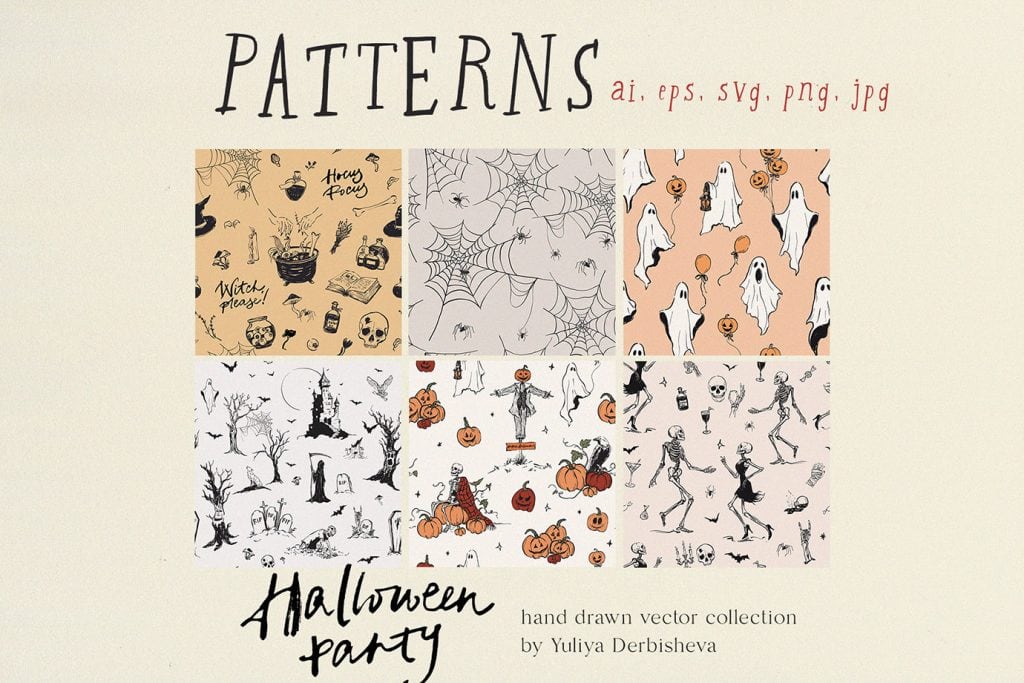
- 6 seamless patterns — scale for packaging, fabric, backdrops or social templates
- 132 vector illustrations — AI, EPS, SVG, PNG for any editor (works with Canva‑style tools)
- 17 lettering compositions — instant handmade feel for invites and signage.
Layout recipes (copy, paste, print)
- Entry vignette: One medium poster + a small framed print + a patterned tray liner. Add a candle and a ceramic pumpkin for height.
- Photo corner: 2 posters side‑by‑side + A2 kraft paper sheet covered with a seamless pattern as backdrop. Keep a consistent warm palette.
- Dessert bar: One tall poster centered + pattern as runner + mini food labels using clipart and lettering. Repeat 1–2 characters for cohesion.
- Retail display: Tri‑frame poster set + patterned risers (foam board wrapped in printed pattern) + price tags with the same lettering.
Invitations and brand feel (fast)
- Template approach: Pick a base invite size (e.g., 5×7 in). Use one lettering composition as your headline. Place 1–2 characters at corners; avoid overcrowding.
- Color system: Warm cream, pumpkin orange, soot black, moss green. Consistency beats variety for a classy retro look.
- Print or digital: Export PNG for stories and email, PDF for print. Keep a 3–5 mm bleed if printing borderless.
Patterns = budget decor multiplier
- Packaging: Print on A4/A3 for treat bags, candy wraps, menu covers.
- Fabric and apparel: Use pattern tiles for on‑demand fabric or iron‑on transfers; small repeats read clean on camera.
- Backdrops: Tile on poster paper or foam board for a portable, re‑usable photo spot.
Pro printing tips (save time and money)
- Paper: Matte photo paper or smooth cardstock (200–250 gsm) avoids glare on camera.
- Frames: Simple black/wood frames unify mixed visuals; add mat boards to elevate budget prints.
- Scale smart: Posters at 300 DPI; patterns can be tiled — test a small sheet before batch printing.
- Last‑minute: Local print kiosks often do same‑day A3; bring PDF and a quick print note (size, paper, trim).
For homes and for business
- Home parties: Focus on 3 zones (entry, food, photo). Repeat 2–3 motifs throughout.
- Cafés and retail: Window poster + counter mini‑signs + price tags with matching lettering. Keeps staff time low, impact high.
- Social assets: Repurpose posters as story slides; use patterns as backgrounds; add consistent stickers (clipart) for reels.
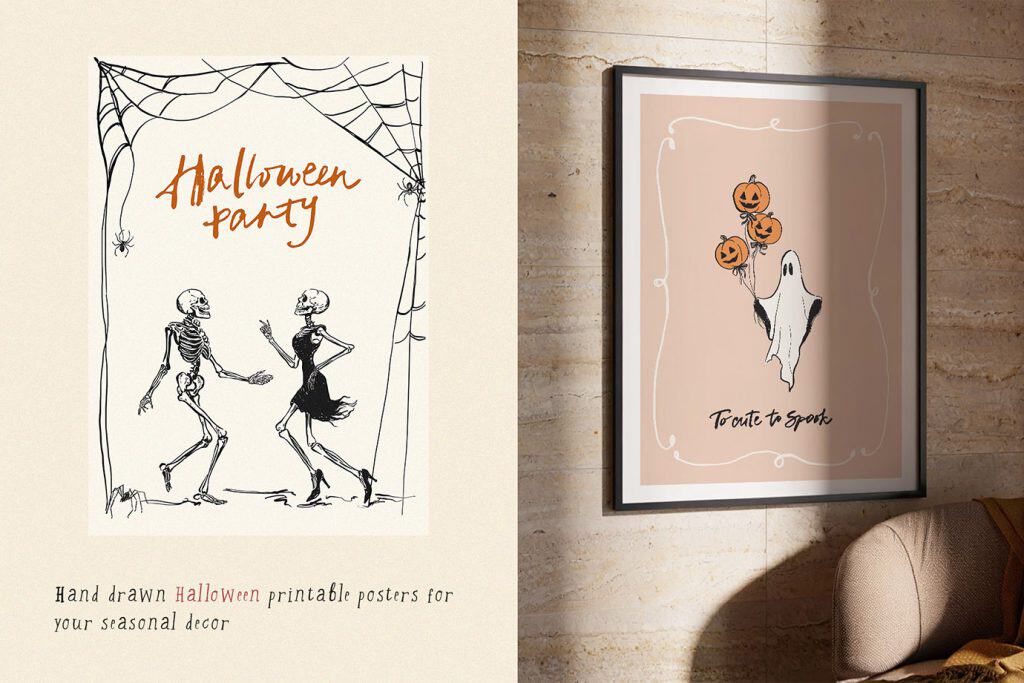
Ready to go vintage?
Browse the Halloween Party collection: printable posters, seamless patterns, hand‑drawn clipart and lettering in AI, EPS, SVG, PNG, JPG — built for quick edits, cohesive styling and commercial use.
Frequently asked questions
How do you create a vintage Halloween look on a budget?
Use 2–3 printable posters as focal points at eye level — they define the theme instantly. Repeat 1–2 seamless patterns across small surfaces (treat bags, labels, table runners), and keep all invitations and signage in one lettering style and color palette. The repetition is what makes it look designed, not scattered.
What paper and sizes work best for Halloween posters?
A3 or A2 on matte photo paper or smooth cardstock (200–250 gsm) works best. Matte surfaces photograph better under warm, ambient lighting — which is exactly how Halloween spaces tend to be lit.
Can I edit colors and text in the files?
Yes. All files come in AI, EPS, SVG, PNG and JPG formats. Backgrounds, text captions and colors are fully editable in standard design tools, including browser-based editors like Canva.